WHY SANDING THE WALL MATTERS
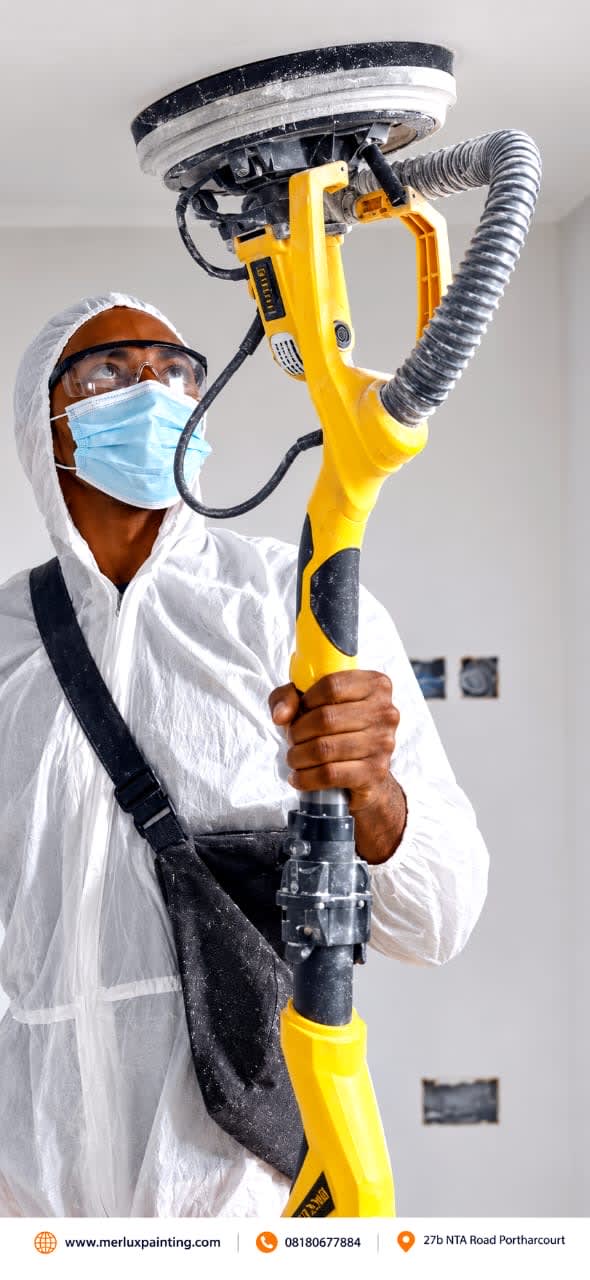
Sanding is one of the steps homeowners skip, and it shows. Rough patches, old paint ridges and shiny surfaces all show through new paint or stop it from sticking. A little time with sandpaper gives you a smooth wall and a finish that lasts longer.
- It smooths rough spots, ridges and dried drips.
- It levels filler used to repair holes and cracks.
- It dulls glossy paint so new paint can grip.
- It removes loose, flaking material.
WHAT YOU NEED
- Sandpaper or sanding sponges in medium and fine grades.
- A sanding block or a pole sander for ceilings and high walls.
- A dust mask and safety glasses.
- A vacuum cleaner or soft brush, and a slightly damp cloth.
- A torch for checking the surface.
WHICH SANDPAPER TO USE
Sandpaper is graded by a number, and a higher number means finer paper.
- 120–150 grit: A medium grade suitable for smoothing walls and filler.
- 180–220 grit: A finer grade used for a final smooth finish and light sanding between coats.
Start with the finer paper when in doubt, because you can always sand more, but you cannot put sanded paint back.
STEP-BY-STEP GUIDE TO SANDING WALLS
1. MAKE SURE THE WALL IS DRY
Do not sand a damp wall. If you notice dampness, bubbles or mould, deal with the problem first.
2. PROTECT YOURSELF AND THE ROOM
- Wear a dust mask and safety glasses.
- Open windows to improve airflow.
- Cover floors and furniture because sanding dust travels.
3. SCRAPE OFF LOOSE PAINT
Remove flaking or bubbling paint with a scraper before sanding.
4. FILL HOLES AND CRACKS
Use a suitable filler and allow it to dry fully. Then sand the repaired areas until they are level with the wall.
5. SAND WITH LIGHT, EVEN PRESSURE
Move the sanding block in long, smooth strokes or small circles across the surface. Pressing too hard can dig into the wall and create dips.
6. SAND GLOSSY AREAS
Old gloss or silk paint should be lightly sanded until the shine is gone. This helps the new coat bond properly.
7. FEATHER THE EDGES
Where old paint ends and bare wall begins, sand until the edge blends into the surrounding surface. This prevents ridges from showing through the new paint.
8. CHECK YOUR WORK
Hold a torch at a low angle against the wall and run your hand over the surface. Light and touch will reveal rough spots your eyes may miss.
CLEAN UP BEFORE YOU PAINT
Sanding leaves fine dust that can prevent paint from sticking properly.
Before painting:
1. Vacuum or brush the wall to remove loose dust.
2. Wipe the surface with a slightly damp cloth.
3. Allow the wall to dry before applying paint.
Skipping this step is a common reason for patchy, gritty paint.
A SAFETY NOTE
Older buildings may have layers of paint containing harmful substances. If your house is old and you are unsure what is on the walls, avoid heavy dry sanding and ask a professional for advice.
WHEN TO CALL A PROFESSIONAL
Professional preparation may be the better option if:
- The walls are in poor condition.
- The plaster is crumbling.
- The area is large or difficult to reach.
- The surface requires extensive repairs before painting.
Professional preparation can save you time and help deliver a better result.
FINAL WORD
Sanding is not glamorous, but it is what gives paint a smooth, strong surface to hold on to.
At Merlux Painting Services, we prepare every surface before we paint it.
VISIT US: 27B NTA Road, Port Harcourt, Rivers State.